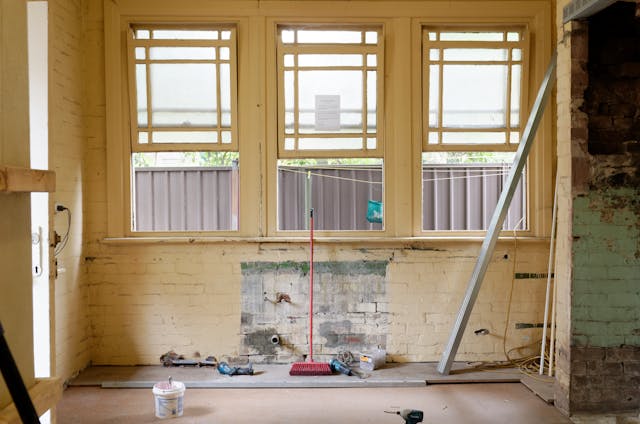
Renovations are thrilling—new floors, fresh paint, modern fixtures—but let’s get real: the aftermath? A disaster zone. Dust clouds thicker than London fog, stubborn glue spots, paint splatters, and debris lurking in every corner. Post-renovation cleaning isn’t just about making your place look good; it’s about making it safe, livable, and genuinely fresh.
If you’ve just finished a renovation or are planning one, don’t underestimate the cleanup. It’s a beast of its own, and doing it wrong means living in a dust bunker or, worse, damaging your shiny new surfaces. That’s why we’ve put together this no-fluff, professional checklist inspired by the experts at LiveCleanToday. Follow it, and your home will feel brand new—not just renovated.
Why Post-Renovation Cleaning Demands a Professional Touch
First off, you might be thinking: “How hard can it be? I just need a vacuum and some elbow grease.” Wrong. Renovation dust is not your regular household dust—it’s a fine, almost cement-like powder that penetrates fabrics, electronics, and air filters. Plus, leftover chemicals and construction debris require specific disposal methods.
Professionals don’t just clean; they sanitize, protect surfaces, and handle waste safely. LiveCleanToday’s experts bring industrial-grade equipment and know-how to tackle this mess efficiently. If you want your renovation to feel like a fresh start rather than a dusty nightmare, take notes.
LiveCleanToday’s Post-Renovation Cleaning Checklist: Step by Step
1. Preliminary Preparation
- Ventilate the space: Open windows and doors to flush out airborne dust.
- Protect your HVAC system: Change or cover air filters to prevent dust circulation.
- Wear protective gear: Masks, gloves, and goggles aren’t optional here.
2. Debris Removal
- Collect and dispose of large debris: wood scraps, nails, drywall pieces.
- Use heavy-duty trash bags and segregate hazardous materials like paint cans and solvents according to local regulations.
3. Dust Control
- Dry dusting first: Wipe down walls, ceilings, vents, and light fixtures with microfiber cloths.
- Vacuum everything: Use a HEPA-filter vacuum cleaner to trap fine dust from floors, upholstery, and carpets.
4. Deep Cleaning Surfaces
- Wet cleaning for stubborn dust: Mop floors with appropriate solutions (wood floors, tiles, and vinyl all need different treatments).
- Remove paint splatters and glue spots carefully with recommended solvents—no aggressive scrubbing that damages new surfaces.
5. Window and Glass Cleaning
- Use streak-free cleaners and squeegees.
- Don’t forget window sills and frames, where dust loves to hide.
6. Sanitize Kitchen and Bathroom Areas
- Clean appliances, sinks, cabinets, and countertops thoroughly.
- Check for residual dust in vents and behind appliances.
7. Final Air Quality Check
- Use air purifiers or professional ozone treatment if needed.
- Change HVAC filters again post-cleaning to ensure fresh airflow.
Pro Tips from LiveCleanToday You Can’t Afford to Ignore
- Don’t rush the dusting: Miss a spot, and it’ll come back to haunt you, especially on your new white walls.
- Test cleaning products: Always test a small, inconspicuous area before applying any solvent.
- Hire a professional for upholstery and carpets: Renovation dust sinks deep, and DIY methods rarely get it all out.
The Bottom Line: Post-Renovation Cleaning Is an Investment, Not a Chore
Sure, you can attempt to clean your renovated space yourself, but you’ll either spend days or risk ruining your new finishes. Professionals like LiveCleanToday ensure the job gets done right the first time. They bring skill, efficiency, and peace of mind — plus, a deep clean that makes your new space truly feel like home.
If your renovation just wrapped or you’re staring down the barrel of post-construction chaos, don’t gamble with your health or your investment. Check out the full range of services at LiveCleanToday and breathe easy in your fresh, clean home.

Leave a Reply